Building your own PC can feel overwhelming, especially if you are new to the concept. However, the process is incredibly rewarding and offers numerous benefits. When you build your own computer, you not only gain hands-on experience but also have the opportunity to customize it completely to suit your specific needs. This guide will take you through every step of the assembly process, empowering you to take on this exciting project.
Benefits of Building Your Own PC
Building your own PC can provide you with several advantages compared to buying a pre-built machine.
First and foremost, customization is a huge benefit. You can choose each component based on your specific needs. For example, if you're a gamer, you can select a high-performance GPU like the NVIDIA GeForce RTX 3060, which can achieve frame rates exceeding 60 FPS in popular games.
Second, it can be more cost-effective. According to recent surveys, building your own PC can save you up to 30% compared to pre-built systems. You only pay for the parts you truly need without the added costs of software and components you may never utilize.
Lastly, assembling your own PC allows you to gain valuable knowledge about computer systems. This understanding aids in troubleshooting issues or upgrading components down the line, saving you time and potentially money on repairs or purchases.
Parts You'll Need
Before diving into the assembly, it's critical to gather all the necessary components. Here’s a list of essential parts you’ll require:
- Central Processing Unit (CPU): The brain of your computer, for instance, the AMD Ryzen 5 5600X, which provides excellent performance for gaming and multitasking.
- Motherboard: The main circuit board that connects all components; ensure it is compatible with your CPU, such as an ASUS TUF Gaming B550-PLUS.
- Random Access Memory (RAM): Temporary storage for data; consider getting 16GB of DDR4 RAM for a smooth experience.
- Storage (HDD/SSD): Your data and operating system will reside here. An SSD, like the Samsung 970 EVO Plus, can drastically improve boot times and application loading speeds.
- Graphics Processing Unit (GPU): This is crucial for rendering graphics, especially important for gaming and video editing. A card like the AMD Radeon RX 6700 XT can handle high-end settings with ease.
- Power Supply Unit (PSU): Provides reliable power to your computer; a 650W PSU is often a safe choice for most builds.
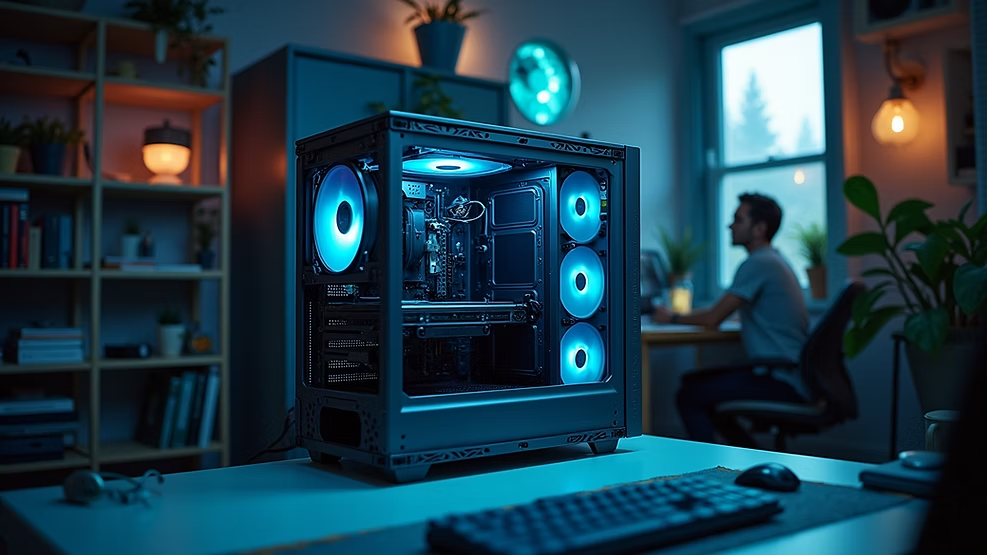
- Case: The enclosure that holds all components; ensure it has good airflow and space for your GPU.
- Cooler: Keeps the CPU at optimal temperatures. An effective cooler, such as the Cooler Master Hyper 212, can extend the lifespan of your CPU.
Essential components for building a PC.
Tools You'll Need
Having the right tools at your disposal simplifies the building process. Here are some essential tools you'll need:
- Screwdriver: A Phillips-head screwdriver is typically sufficient for most screws.
- Anti-static Wrist Strap: This helps prevent static electricity from damaging delicate components.
- Cable Ties: These are invaluable for organizing cables inside your case.
- Thermal Paste (if not pre-applied): Necessary for optimal heat transfer from CPU to cooler.
Step-by-Step Guide
Now that you're equipped with the necessary parts and tools, let’s get to the building process:
- Prepare Your Workspace: Choose a clean and spacious area. A larger workspace minimizes the chance of losing small screws or parts.
- Install the CPU: Carefully place your CPU into the socket on the motherboard, ensuring it is aligned with the notches. A single misalignment can lead to malfunction.
- Apply Thermal Paste: If it’s not pre-applied, add a small amount of thermal paste on the CPU’s surface; about the size of a pea is generally enough.
- Attach the CPU Cooler: Securely attach the cooler on top of the CPU according to the manufacturer's instructions. This is a key step to prevent overheating.
- Insert RAM Modules: Locate the RAM slots on the motherboard and insert the RAM sticks until you hear a click. Ensure they are seated properly for optimal performance.
- Install the Motherboard: Place the motherboard inside the case and secure it with screws. It’s essential that it’s fixed securely to avoid any movements that could disrupt connections.
- Add Storage and GPU: Install your SSD or HDD in their respective slots and insert the GPU into the appropriate PCIe slot. Make sure to adjust the case if necessary to fit the GPU.
- Connect the PSU: Plug in the PSU cables to the motherboard, CPU, GPU, and storage devices. Double-check to ensure everything is connected firmly.
- Cable Management: Use cable ties to neatly organize your cables. This helps improve airflow inside the case, which contributes to better cooling efficiency.
- Final Steps: Review all connections one last time, close the case panels, and attach your peripherals (monitor, keyboard, mouse).

A close-up look at a partially assembled PC with visible components.
Tips for a Smooth Building Experience
As a beginner, consider these tips to make your building experience smoother:
- Take Your Time: There’s no need to rush. Taking breaks can help maintain focus and prevent mistakes.
- Consult Manuals: Each component comes with its own manual, offering important installation information and troubleshooting guidance.
- Watch Tutorials: Video tutorials can provide visual guidance that complements this written guide and help clarify any unclear steps.
- Ask for Help: If you encounter difficulties, seek assistance from a friend or an online community. Many forums are dedicated to PC building tips and help.
- Test Before Full Assembly: Consider a test boot, also known as breadboarding, before fully closing the case. This ensures all components are functional.
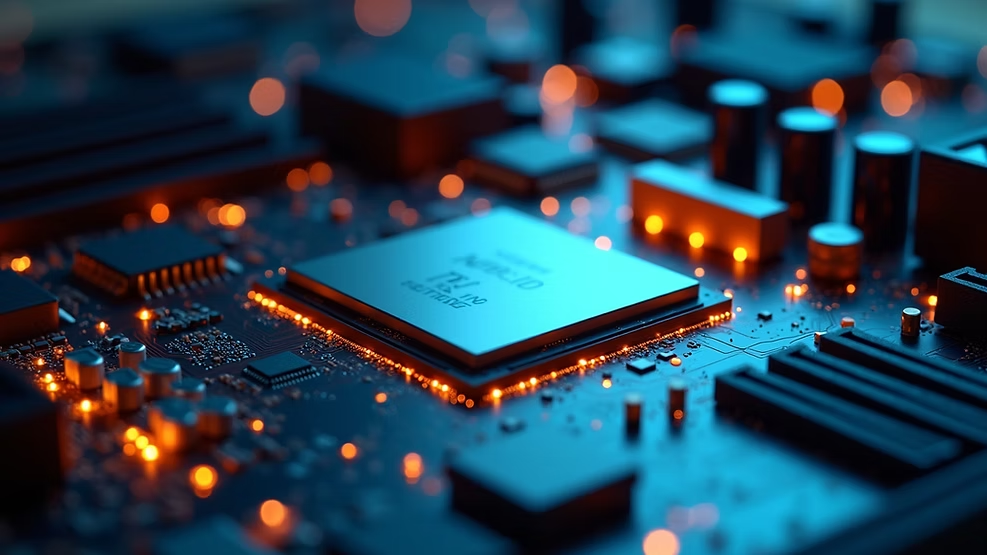
Detailed view of a CPU installed on a motherboard.
Wrapping Up Your PC Building Journey
Congratulations on taking the first step toward assembling your own PC! This guide provides the essential steps and knowledge needed for a successful experience. Not only will you build a powerful, customized computer, but you’ll also develop a deeper understanding of how technology operates.
Remember, building a PC is not just a task but a valuable learning experience. Embrace any challenges you encounter along the way. Take pride in your accomplishments once your system is up and running. Happy building!